

01 Nov 5 Tips to Wrap Up a Room Makeover – One Room Challenge | Fall 2019 | Week 5
Here we are at Week 5, the final week before the BIG REVEAL, November 7th, of the exciting, nail-biting, 6-Week One Room Challenge! To catch up and learn what the challenge is all about and see the room makeover process by designers, please see the blogs of the One Room Challenge Featured Designers and Guest Participants and Week 1 – 4 below. You will be amazed and inspired, I guarantee it! Until we get to the 5 Tips I’ve learned to Wrap Up a Room Makeover, let me share with you the progress I’ve made and the mess that is still going on to get my Breakfast Nook transformation all wrapped up.
Week 1 | Week 2 | Week 3 | Week 4 | Week 5 | Week 6

Week 5 – The messy process of DIY-ing
I’ll tell you, no matter how much you plan, or think about your room makeover in advance, 6 weeks is no easy task for a complete room transformation, but it IS possible.
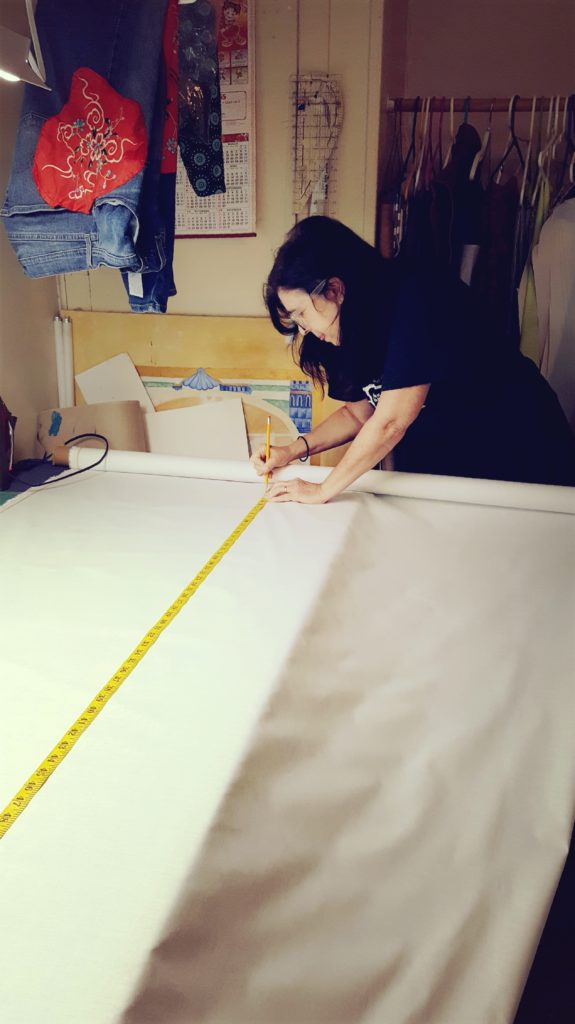
This 5th week has been all about waiting for products to arrive (in reality, fretting as to whether or not they’ll arrive in time), a lot of cutting, making, stapling, surging, sewing, and correcting mistakes. In the middle of all this, I’m planning for my tabletop setting, adding new sponsors like Michelle’s Jewelry & Silver for silver napkin rings and Spring Frost Boutique and Face Kandy for fashion styling and makeup.
Pillow Goddess Tip – take advantage of your photoshoot and get photos of yourself in your space for your website and social media.
But in the end, no matter what works out and what doesn’t, it’s really all about the attention to detail that makes a room transformation shine.
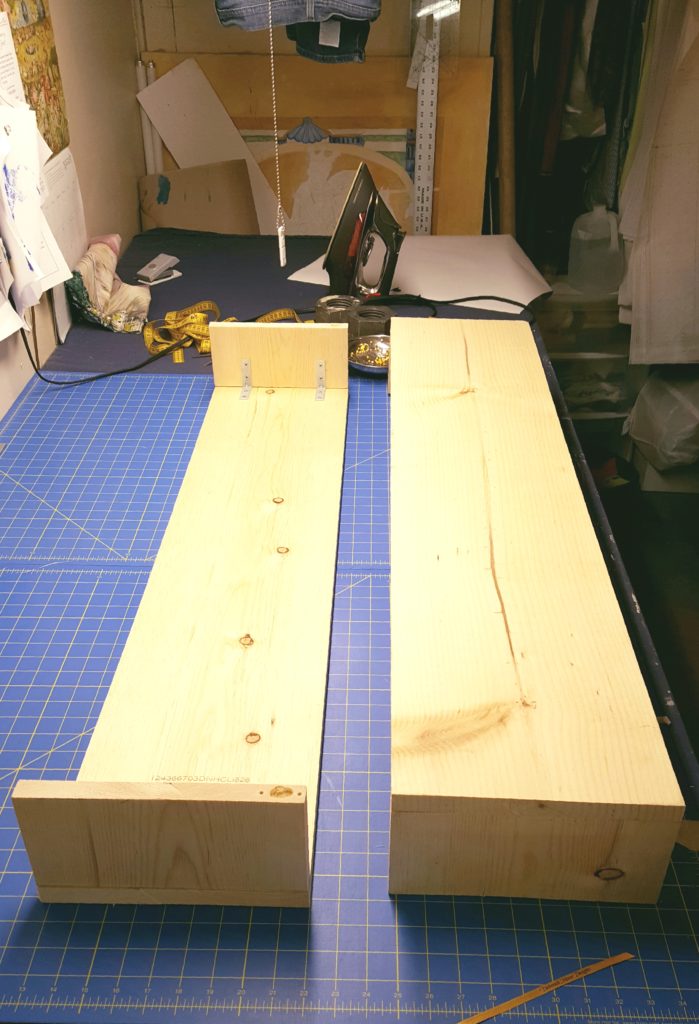
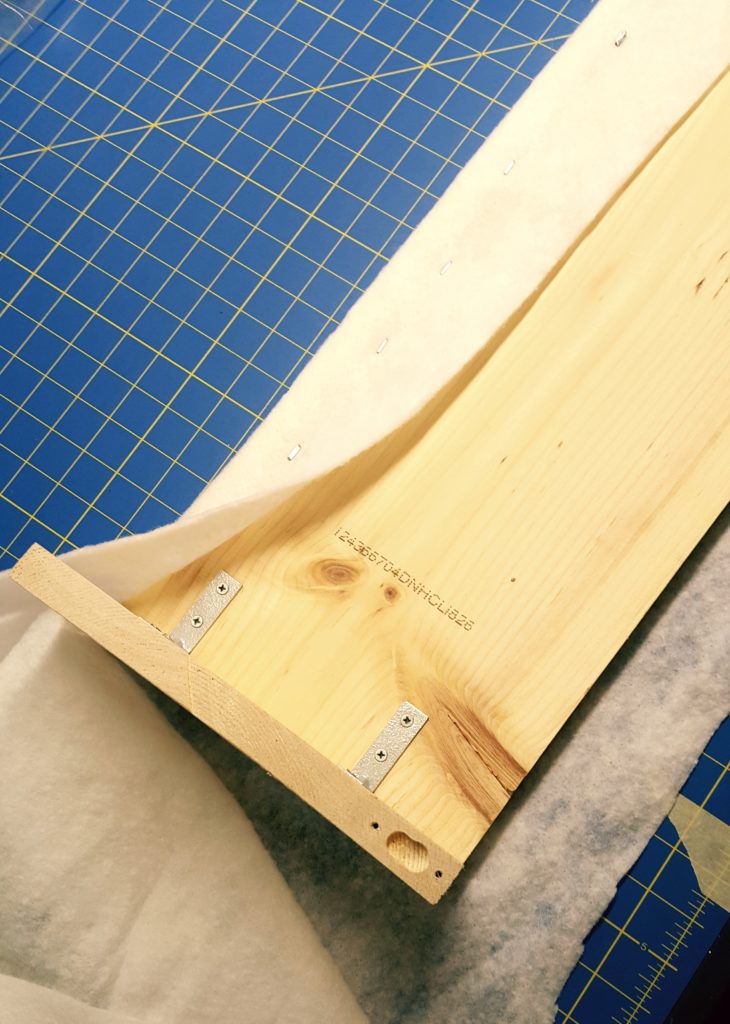
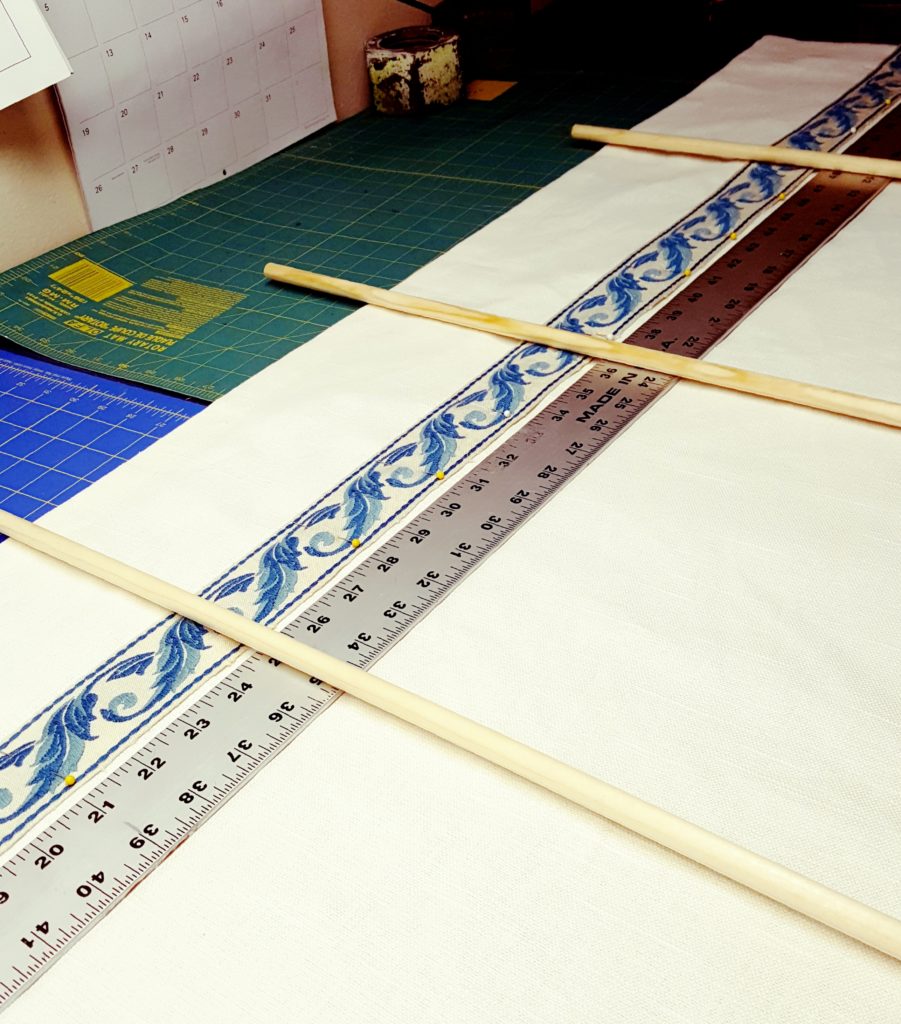
As you saw last week, Week 4, we hit Home Depot and Joann’s Fabric store, got the valances built and now this week our studio’s head seamstress, Kim, and I have been wrapping the valances in fabric sponsored by Kravet and working day and night on the Roman shades. Not to mention all the pillows that still need to be sewed!
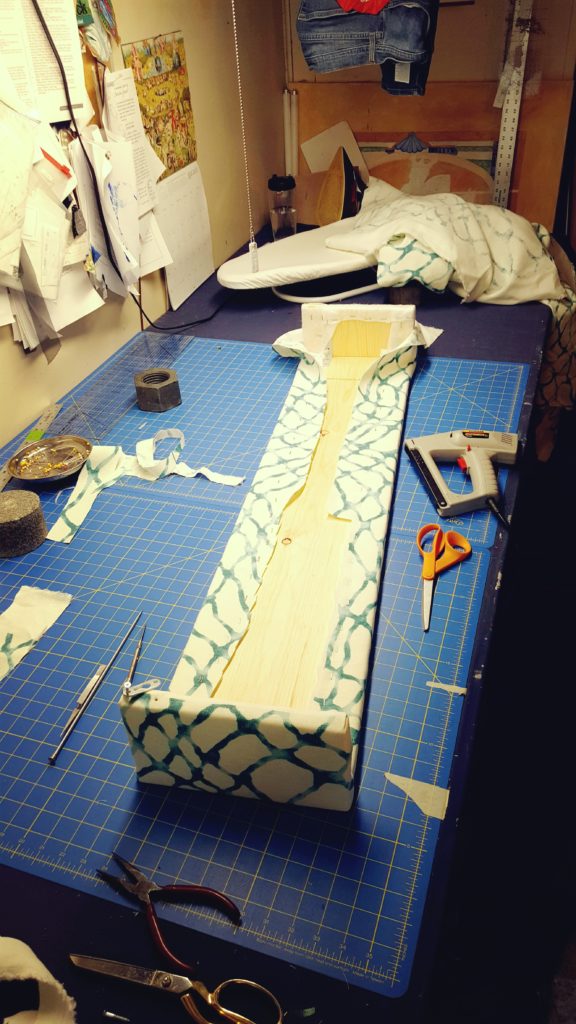
Here are a few pics of the process of covering the valances in this cool watercolor fabric by textile sponsor Kravet.
Remember, this is the messy part. No studio or workroom is ever clean when you’re right in the middle of a project.
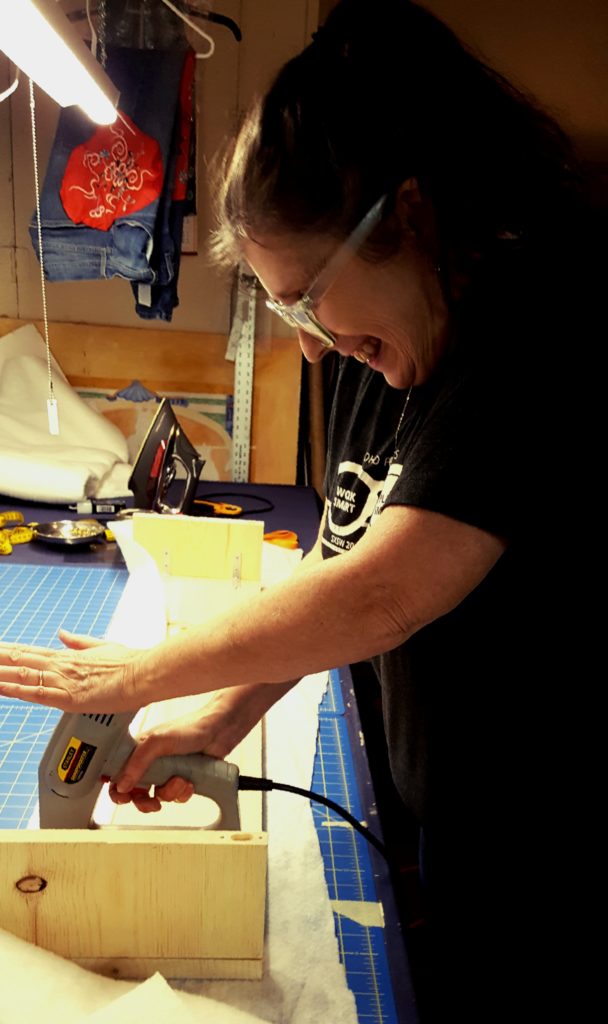
Mad Scientist
This is me in the thrill and glory of using a staple gun for the very first time. Terrible photo….but don’t I look like some mad scientist? Try a staple gun and you’ll see how fun it is!!
Onto the Roman Shades
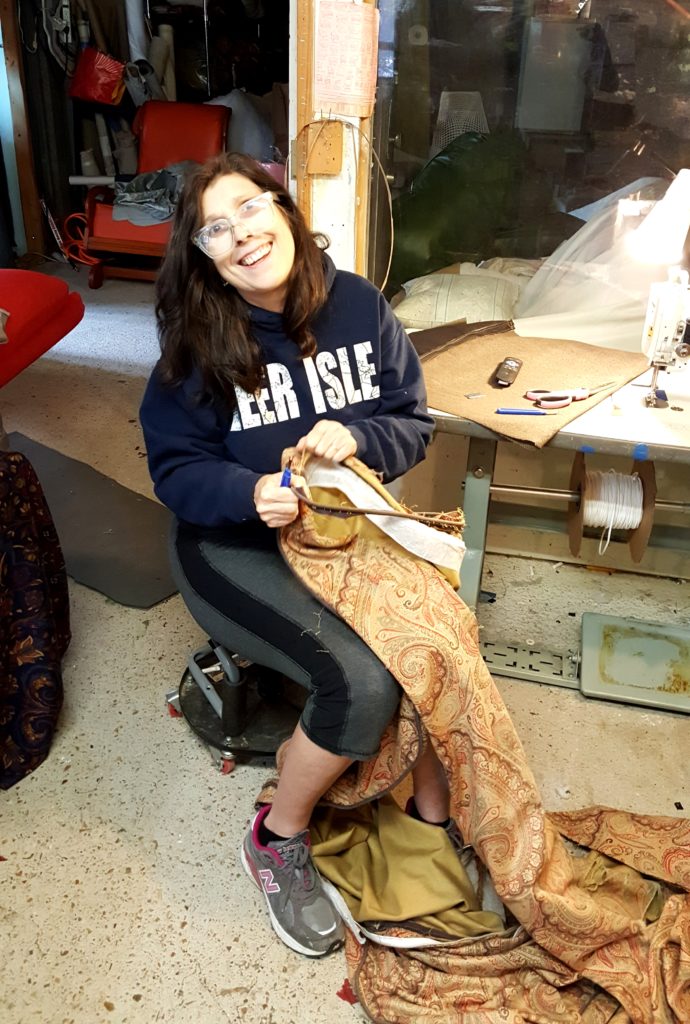
We soaked all the vintage French trim in Oxyclean ( a product I highly recommend for stains) to freshen it up. Then we lined the first Roman shade, sewed on the trim, and laid out where the rods would go. I have no idea how to make Roman shades and it is not a DIY project that I had time for this go around. But Kim has experience and we worked on it together.
Only one major glitch…kind of a big one.
So far, so good. Then EVERYTHING, I mean everything came to a screeching halt when we got to the 2nd shade, laid out the fabric, and boom.
We came up short.
Yup, we did NOT have enough fabric for the 2nd shade. Ouch! This one really hurt.
Kim was absolutely appalled that I had cut out a big chunk of the fabric. Normally, I know to cut a swatch from the end. Oops!
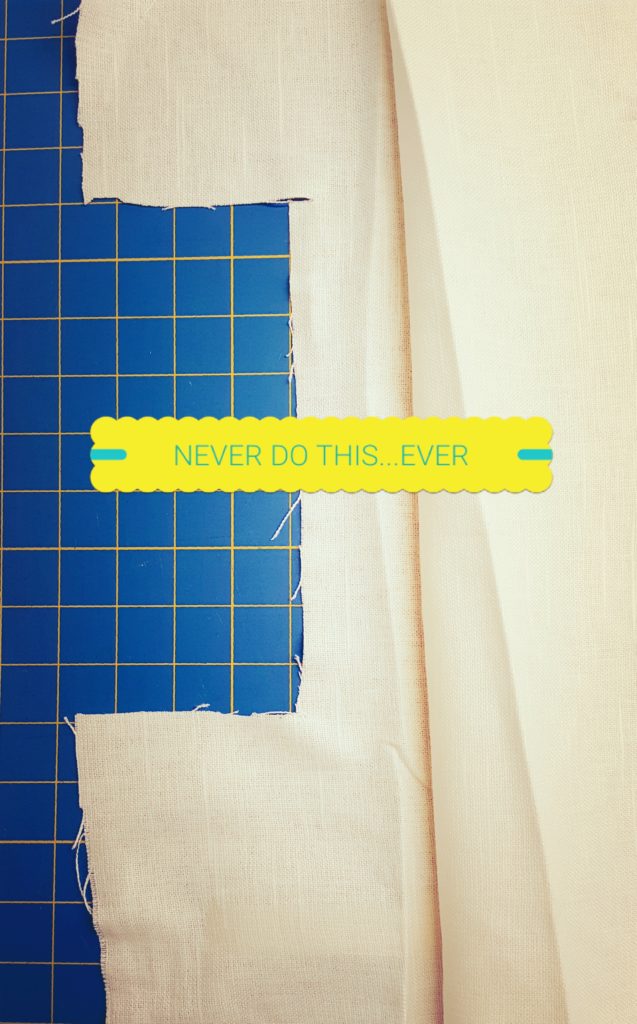
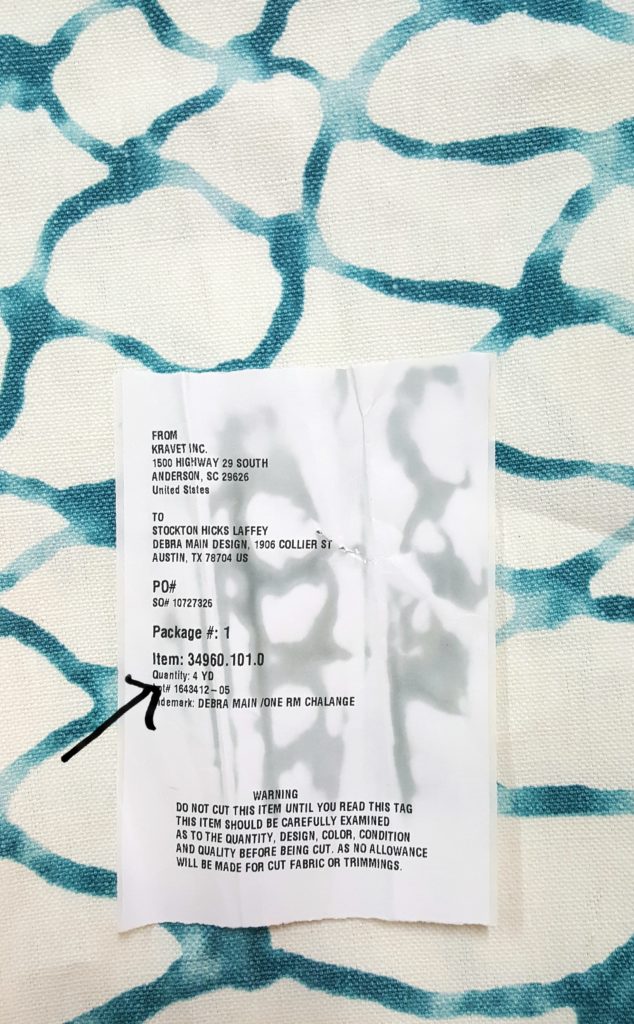
And I did NOT do what it says to do when the fabric arrives, check your yardage. In fact, I ironed the label and Kim and I thought it was SO cool how the iron made the paper look like the patterned fabric, that we didn’t even notice that I had only ordered 4 yards and not 6.
Lesson learned
Throughout the One Room Challenge problems like this arise, it gets really stressful, but it also creates opportunities to be creative and solve problems. I think this was also the point where I raided Kim’s Halloween candy container and ate about 5 chocolate bars!
Kim and I put our heads together and came up with 3 possible solutions:
- I could order and pay for the fabric myself and eat the cost (since it was my mistake and not my sponsor Kravets), but we didn’t think the fabric would get here in time,
- We could totally change the design of the shades, but neither of us were happy with that,
- Or, we could piecemeal it together and add a piece on top under the valance. Not the best option.
I’m happy to report that not only did Kim (who is really the expert seamstress and mathematical genius when it comes to measuring fabric and making Roman shades!) figure out a new way of making the shades, but almost exactly as we had planned but with less fabric. I tell you, she’s a miracle worker!
Frankly, I do not think I’d be doing the One Room Challenge without my partner-in-crime, Kim Schlinke. She’s the best at pretty much everything. And no, you can’t have her!
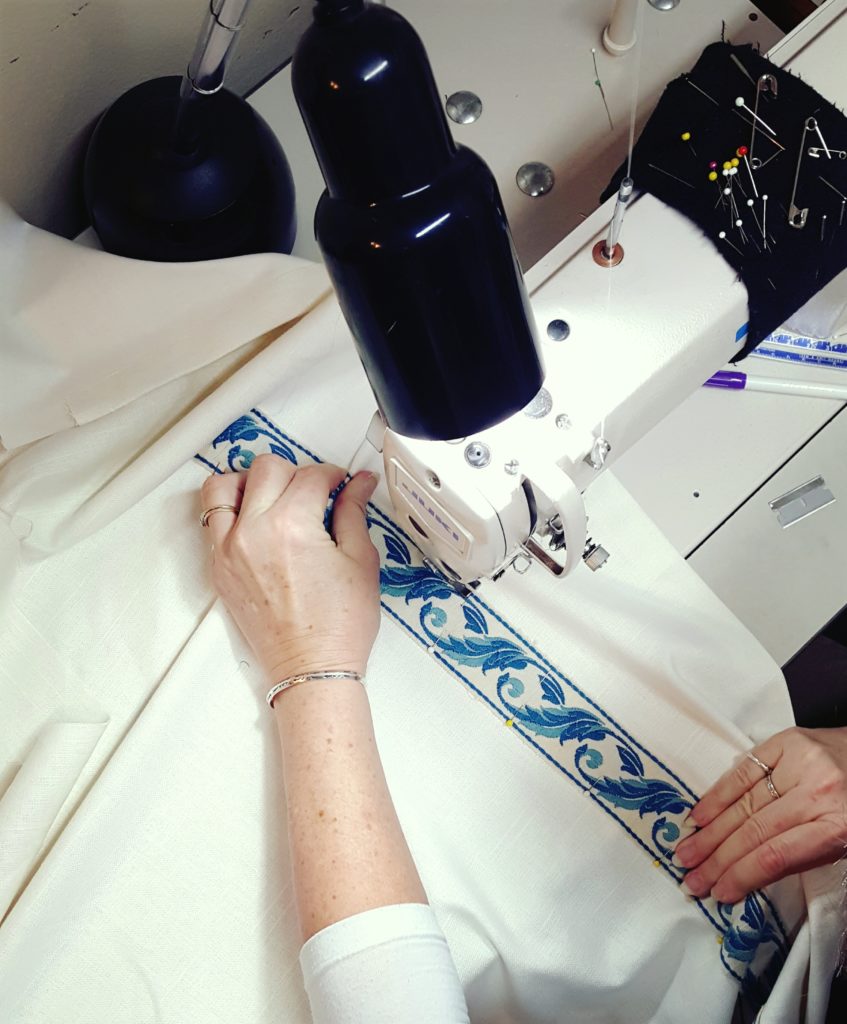
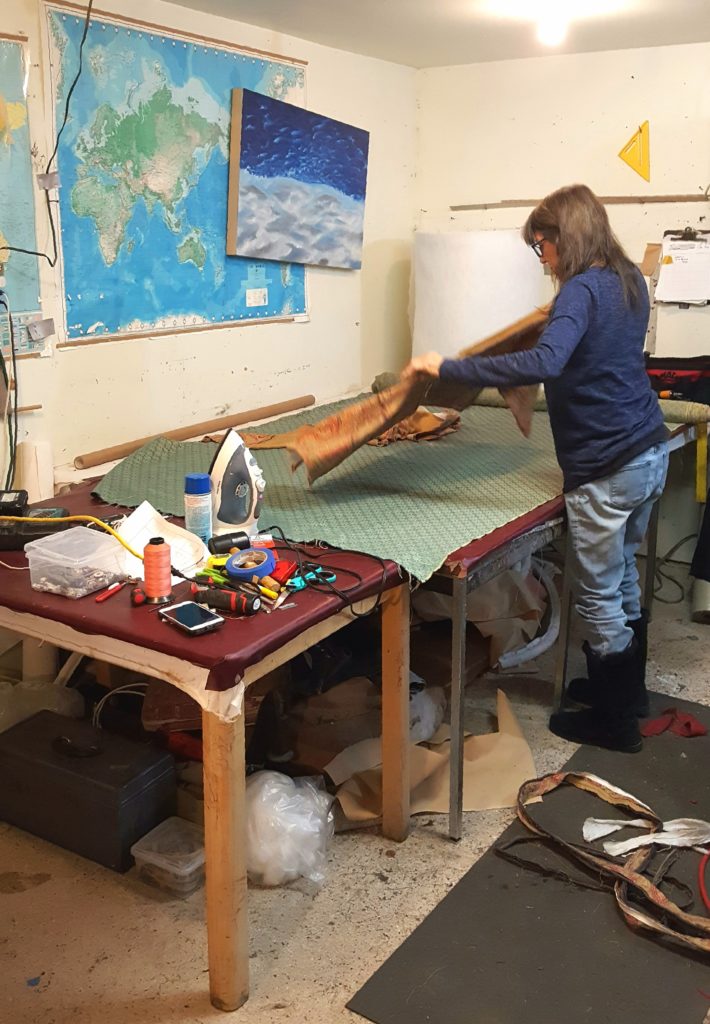
Surge Baby Surge
(apologies for pic being a tad blurry, but we were focused on our task at hand.)

As you know, all the new fabric is from sponsor Kravet and I think you’re really going to like it when you see it all in place. In addition to working on the valances and Roman shades, I needed to get started on the umpteen pillows I would be making. But I don’t have a serger and I don’t use patterns and I hadn’t sewed anything since January. Rusty with a capital R!
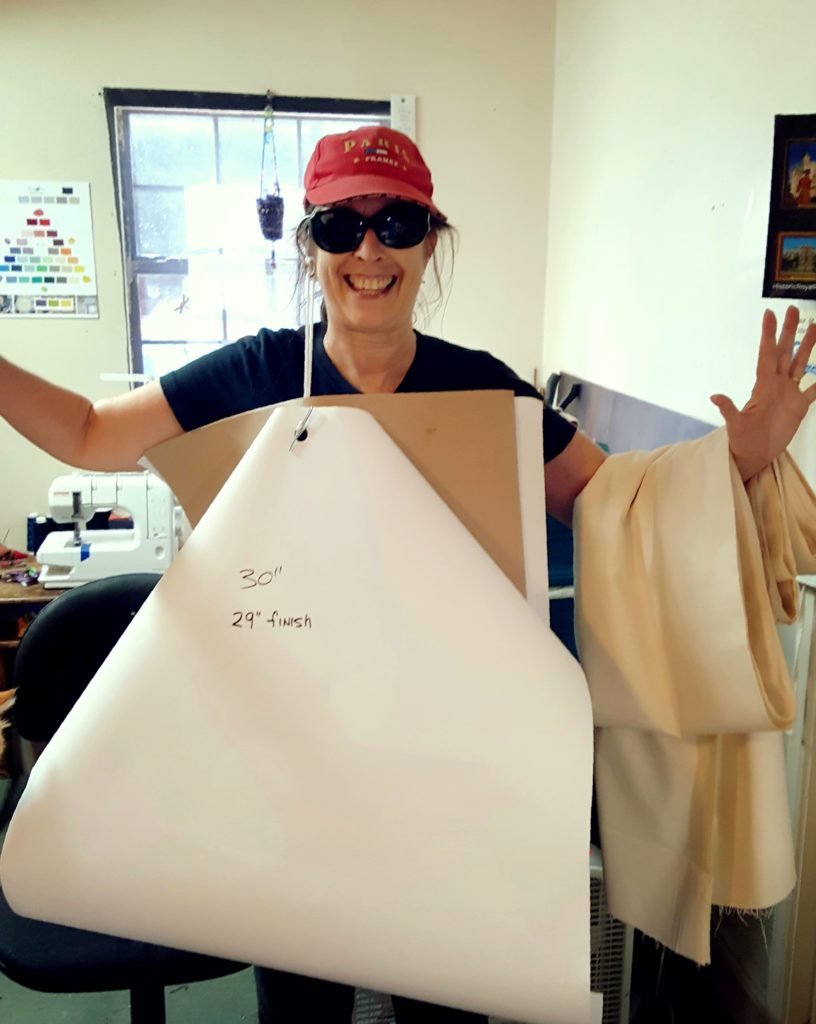
Kim got me set up with patterns; I don’t normally use patterns. Yes, we’re goofing around and they’re hanging from my ear. But you gotta have a sense of humor and some fun during these room transformations or you’ll go C-R-A-Z-Y! I had so much fun serging on her machine. I’m definitely investing in one soon.
So I’ve been cutting and serging off and on in between helping Kim on the shades. Later this week, I’ll be making about 15 pillows!! So get ready for some LIVE videos in my studio on Instagram Stories. Already y’all have helped me narrow down some trim. Thank you!
Seam ripping with the best
I definitely needed to pop by Accent Upholstery to see how the cushion was coming along. Dana, the owner, had lost her top upholsterer because he was in the hospital. So I pitched in ripping out the seams of the old cushion to help Dana get the pattern ready to go.
I can’t wait for you to see the cushion in the gorgeous blue-green fabric, because it’s going to have a beautiful teal velvet piping that Dana had laying around her shop. Perfect match! It’s gonna be so pretty.
This is where you also start getting super excited because you can begin to see light at the end of the tunnel.
Where did all the china go?
In between all the sewing, I had to get going on my tabletop design. One of the frustrating things for me this past week was that in looking at 3 antique and resale stores, including an entire Antique Mall, there were no pretty dinner plates or teacups. A clerk at the Antique Mall said that china doesn’t sell anymore, so most of their vendors took it out. Bad timing for my project.
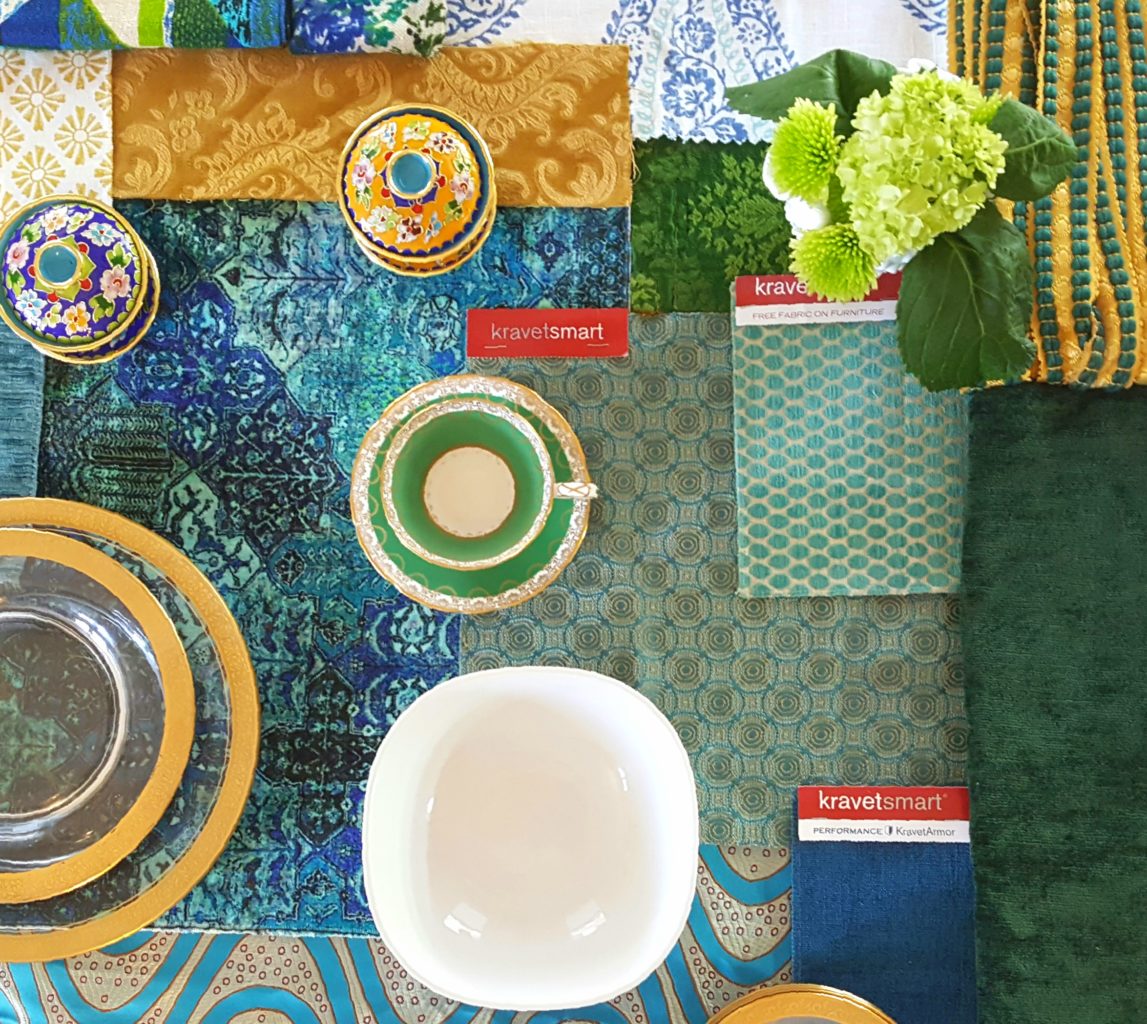
If you remember, I selected a blue-green and gold color palette for my room above. I have a gorgeous 12-place Lenox table setting I inherited from my mother, but it’s red, cream and gold.
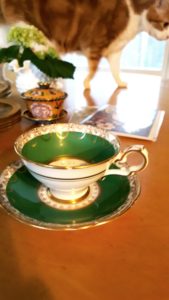
I also have a lovely teacup collection of my mother’s, but only one in green (left) and no blues. So what’a girl to do?
Ebay and Etsy to the rescue.
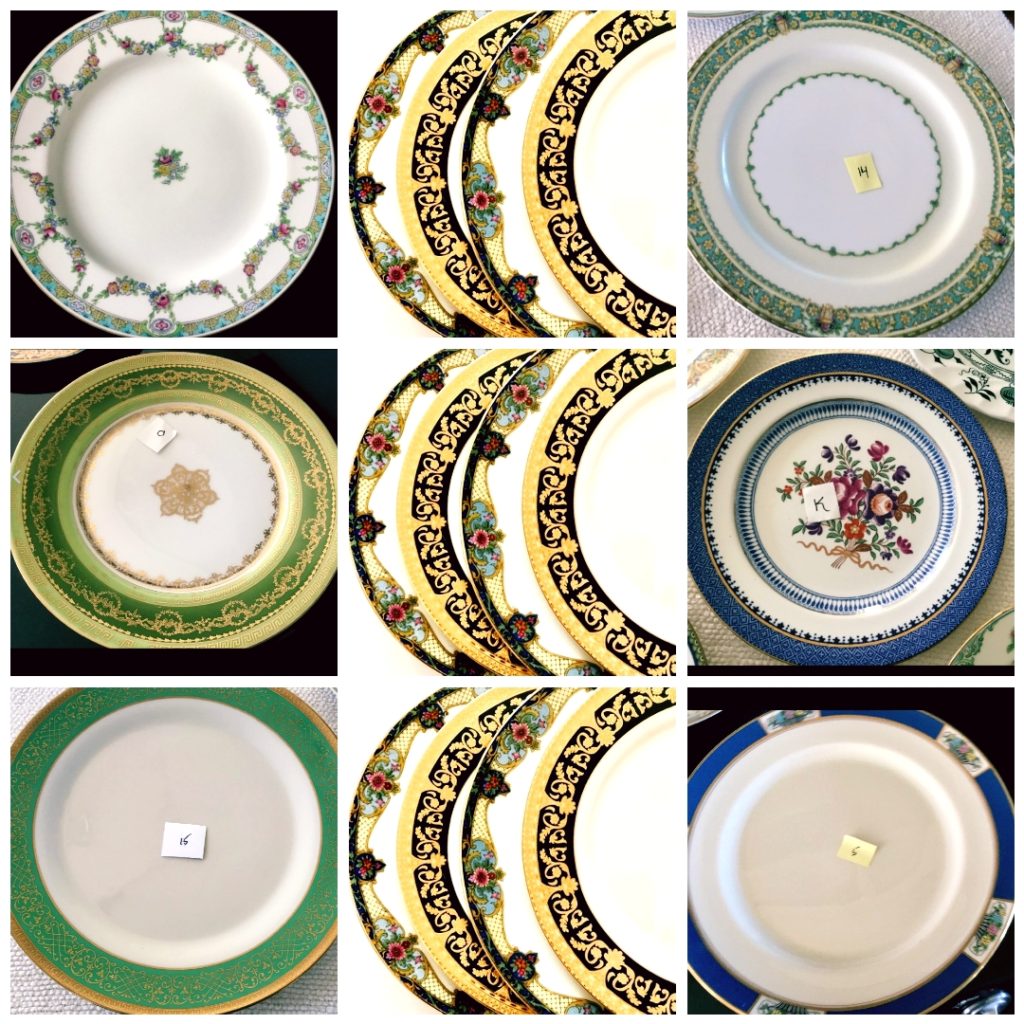
I found an incredible dealer on Ebay, Ann Marie of Savoy Gardens, who sells mismatched sets of four dinner plates and salad plates. This woman was very kind and helpful when I asked her if she could put a blue-green grouping together for me. After much back and forth (she was very patient with me) I settled on 2 out of 4 dinner plates (below) and they just arrived today. YAY! I can’t wait to show you how I’m going to style the table.
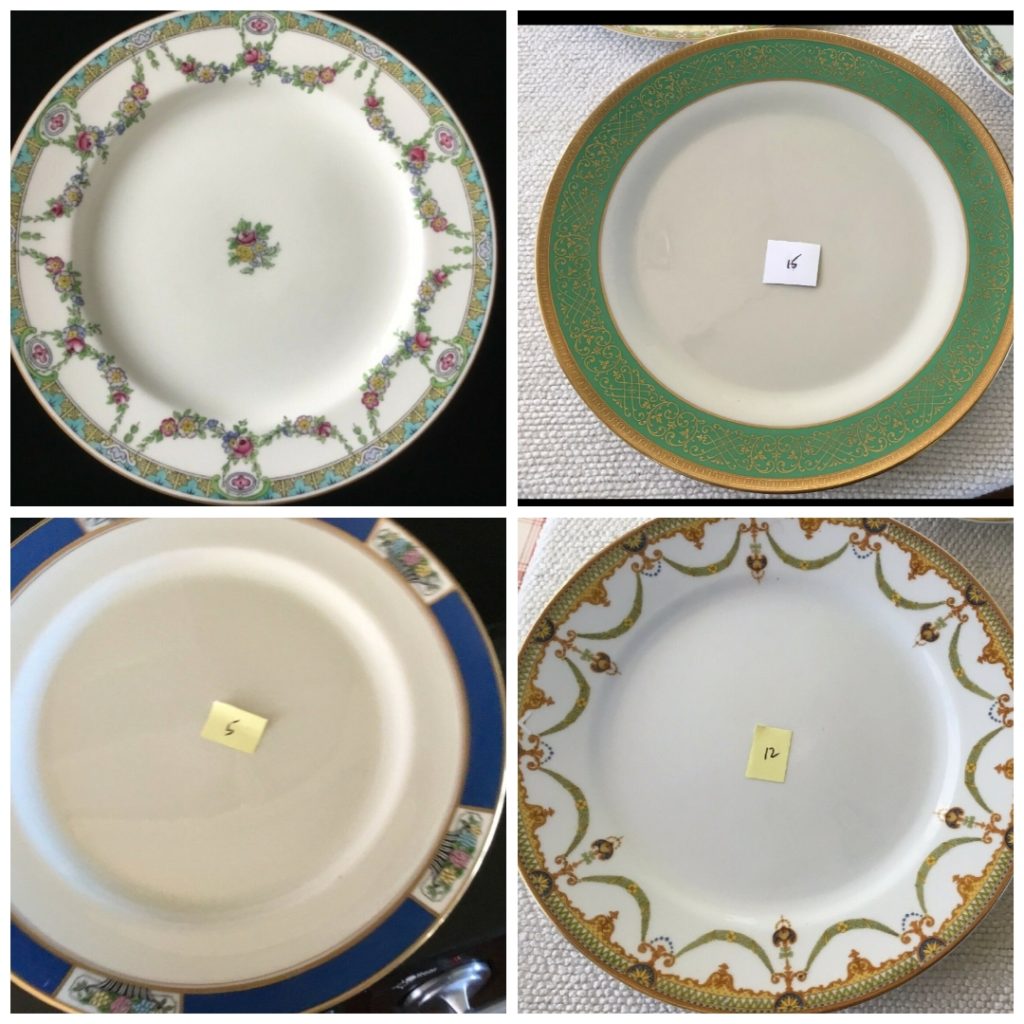
Then I also scored this beautiful set of salad plates (below).
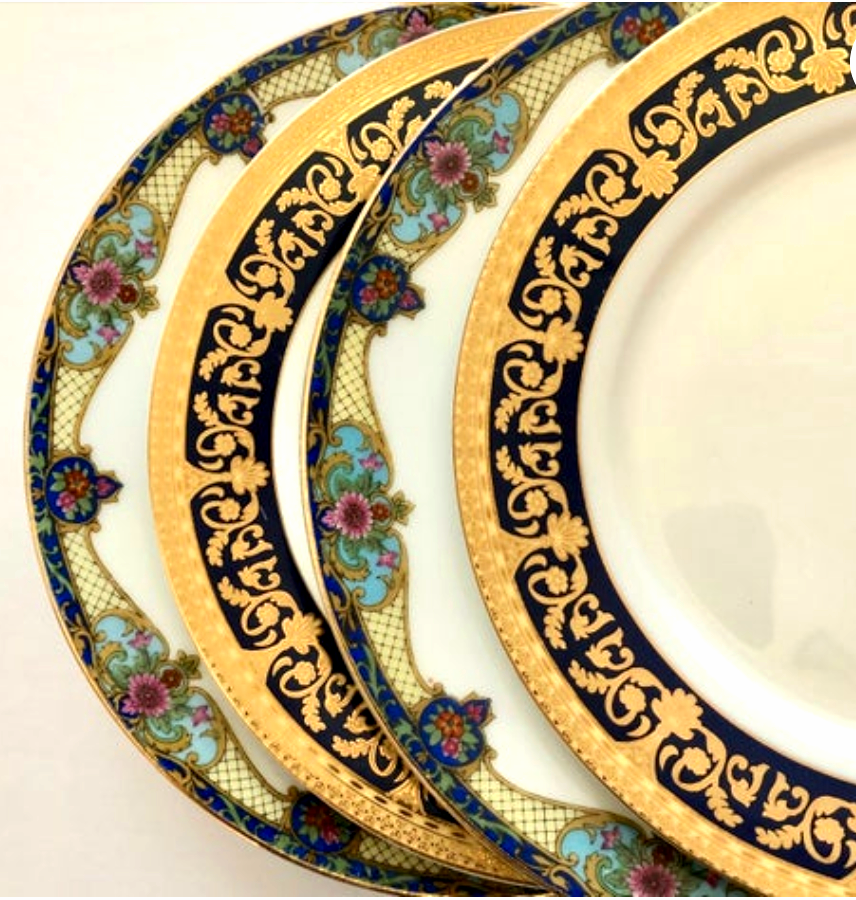
What’s important for me in setting the table is I want to incorporate the 1930’sgold-encrusted dinner plates and crystal glasses I inherited from my great-grandmother Fannie Main into my design.
Installation Time
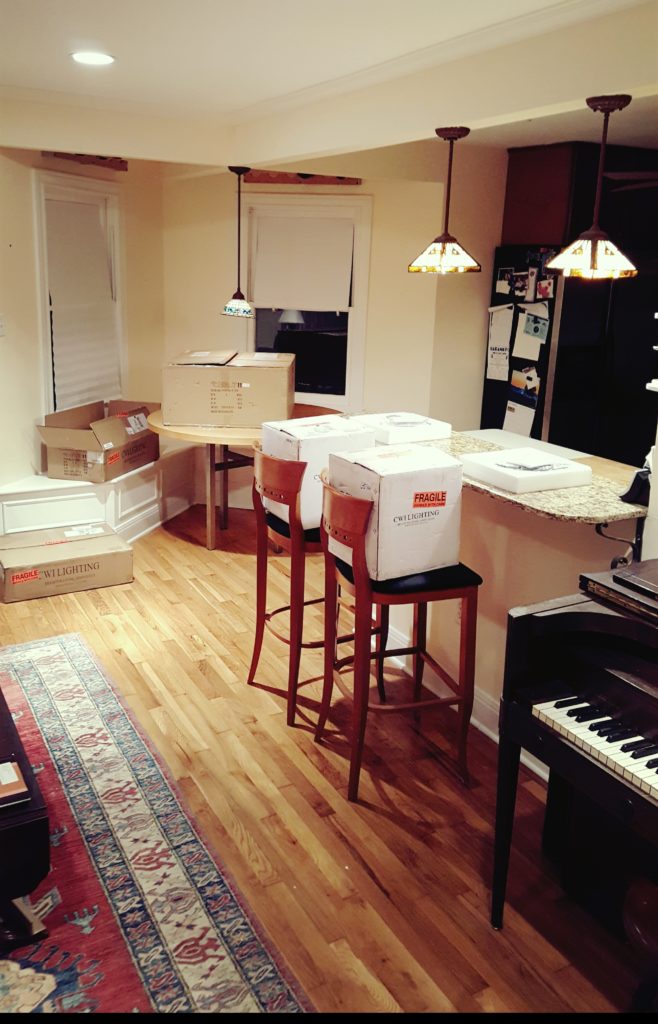
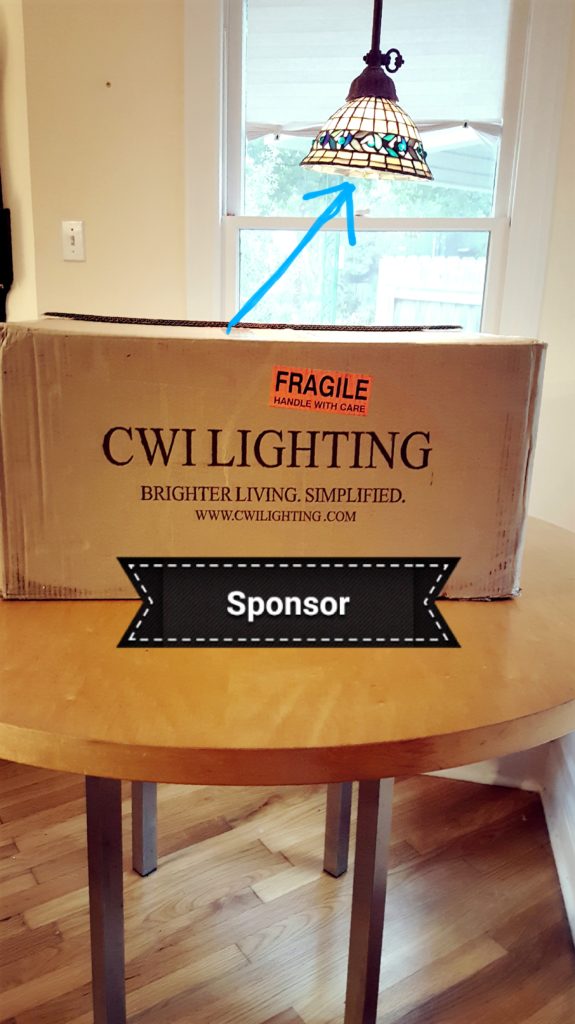
Last week, Week 4, I shared many of the beautiful lighting options. I was thrilled on Monday when the lighting arrived, 5 boxes from sponsor CWI Lighting! I scheduled the electrician and am happy to report that the installation of all the lighting was successful. I still need to pick up bulbs on Friday, but I am so very pleased with my selections and can’t wait for you to see them. Below is the ugly tiny light we have had over our round table for the past 20 years. Sponsor CWI has made it possible to transform it into a gorgeous crystal chandelier, thank you!
Below is an electrician installing the round globe pendants over the bar. (Note: The bar won’t be refinished until we do a complete transformation of the kitchen. But that is coming….very, very soon.)

The Kravet pillow fabric arrived yesterday!! I can’t wait to get into my studio this weekend, my happy place, where I can put everything behind me, and enjoy my passion, making pillows.
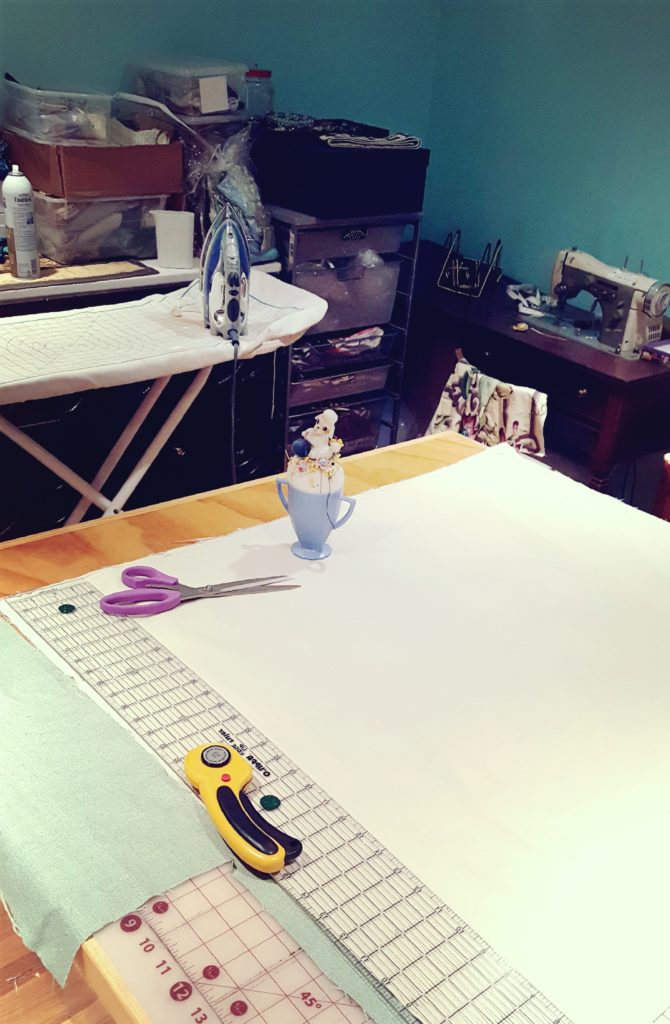
Here’s my studio all cleaned up and ready for me to get sewing on my vintage Necchi machine. Since I’ve run out of time to share my pillow-making process with you, please be sure to tune into my stories on Instagram @thepillowgoddess, as I’ll be posting a lot there all weekend.
5 Tips to Wrap Up a Room Makeover in 6 Weeks
- Start with a vision of your room and make an overall plan. You don’t have to know every detail, and the room can evolve in the process, but always go back to your original vision and plan.
- Tackle the biggest items first and the ones you know you have to order ahead of time. This will give you 5 weeks for delivery. During this time, you’ll be either DIY-ing a lot of the room yourself or working with a team, as I have with my seamstress. Don’t forget to schedule the installation time.
- The design is in the details. Wrapping up your room in 6 weeks not only takes a vision and plan but a schedule. Make sure you keep a list of all the items you need to check off, as these details (i.e. floral arrangements and styling) will be paramount in the last week.
- Always, I mean ALWAYS, have a Plan B. Maybe even a C and D, as you never know if one of the products you select is back-ordered or not available in the color you want. We had NO idea that I had made a mistake in ordering the very first fabric! Thank God, with no time to reorder, my seamstress Kim was able to come up with a realistic, solid and acceptable Plan B.
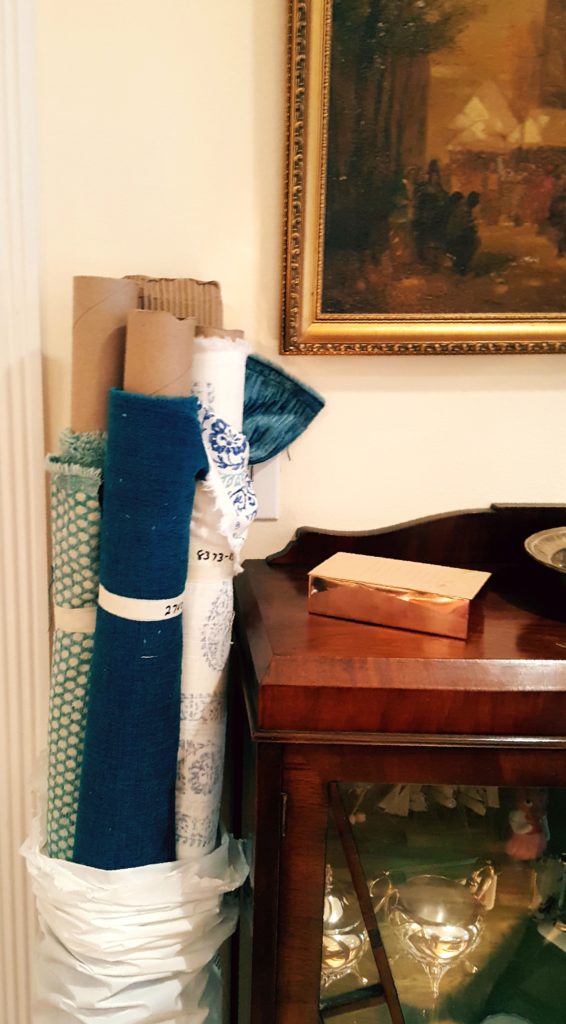
- Layout your design in the final week and be ready for your photoshoot. Whether you’re styling a tabletop like I am for the Breakfast Nook, or end tables in a bedroom or a coffee table in the living room, it’s these details that creep up on you at the end. Leave time to finish all this and running errands. I’ve put all the table settings out on our buffet so they are in front of me and I can continually be thinking about them to have them in place for the photoshoot.
There are far more than 5 tips to wrap up a room makeover, but I thought these might be helpful as a start to give you the confidence to tackle a room on your own. If you ever need help, please don’t hesitate to reach out to our studio.
Please PIN this image above to share The Pillow Goddess tips with your friends. I’ve still got so much more work to do for the photoshoot on Tuesday, November 5th. Mainly, sew ALL the pillows!
Wish me luck and follow my Instagram @thepillowgoddess and subscribe to the blog HERE for the Big Reveal.
Thank you for all your support on this journey. See you on the flip side with the best part, a room transformation to enjoy with fantastic After photos! Mark your calendars for the BIG REVEAL November 7th. XO PG
Note: This post is sponsored by Kravet Fabrics, CWI Lighting, Eurway | Collectic Home, Michelles Antique Silver & Jewelry, Spring Frost Boutique and Face Kandy. All photography (except logos) and opinions are my own.
Linda Holt
Posted at 07:40h, 03 NovemberOh man, coming up short on the fabric is a huge bummer. So glad you were able to figure it out. It sounds like your week has been as stressful as mine but we’re almost at the finish line! Hang in there, I can tell it will be beautiful.
Deborah Main
Posted at 23:02h, 05 NovemberOh yes, Linda, that one was a harsh reality. But thankfully our expert seamstress figured out a solution. We installed this past wknd and I’m really happy with them.
Hope your photo shoot went great. Can’t wait to see your room!!
Mary Ann Benoit
Posted at 11:26h, 03 NovemberI love that you are making so many parts of the design yourself. Way to go and can’t wait to see the final reveal! I’s sure it will be gorgeous!
Deborah Main
Posted at 23:05h, 05 NovemberThank you Mary Ann. It’s a team effort here at our studio with me and my lead seamstress, Kim. Couldn’t do any of it without her! I have learned to do many more DIY things than ever before thanks to Kim being so multi-talented.
THX for stopping by the blog. 🙂
Sheri Bruneau
Posted at 18:11h, 03 NovemberOh wow – you have been one busy lady! I can’t wait to see how gorgeous your space is going to be!
Deborah Main
Posted at 23:06h, 05 NovemberThank you Sheri. It’s been hard to keep up, but the finish line is near. Thx for stopping by the blog! 🙂
Janet R Lorusso
Posted at 18:42h, 03 NovemberI can’t wait to see this done! Gorgeous colors and textiles and even more gorgeous china (yours truly IS a dish addict)!
Deborah Main
Posted at 23:08h, 05 NovemberOh, I hear you on the “dish addict ” I think I’m becoming a collector!!
Thank you Janet….the colors created a lot of fun and challenge in selecting textiles and china to complete my vision.
I’m excited to share it with you!